Intel iGPU Setup for vGPU use in OpenStack


Intel SR-IOV for Xe, Xe-LPG, and Xe-HPC is powerful and can be used within OpenStack with ease. The setup requires some configuration on your hypervisors and the Intel Datacenter Graphics Driver; however, in just a few steps, systems can be extended to support Virtual Graphics Processing Units without much effort and with almost no additional overhead.
This post was written because of my curiosity and largely because there was no real documentation on using Intel vGPUs; Intel is mentioned here, but only just. With Intel's push into the data-center accelerator space, it made sense to me that I could use some of their more advanced features in my computing workflow, and having gone through discovery that led to the creation of this post; I believe this type of environment could benefit enterprises at large. There’s a growing demand for high-performance computing capabilities, particularly for AI, ML, and graphics-intensive workloads. Intel’s Xe architecture, combined with SR-IOV, allows OpenStack users to deliver Virtual Graphics Processing Units (vGPUs) with enhanced performance, lower latency, and near-native performance. In this post, I'll guide you through setting up Intel's Xe enabled iGPU as an OpenStack vGPU, unlocking a powerful, accelerated cloud environment.
Post Overview
This post is broken up into three parts and was written as a step-by-step guide:
Host Setup
For the purpose of this blog post, the environment is running an i7 12700T, which is supported as an Alder Lake processor with PCI ID. 4680 (Intel® UHD Graphics 770).
Hardware Overview
For this post, I'm using two Lenovo M70Q nodes, both of which have 64GiB RAM and are running the Intel 12700T processor.
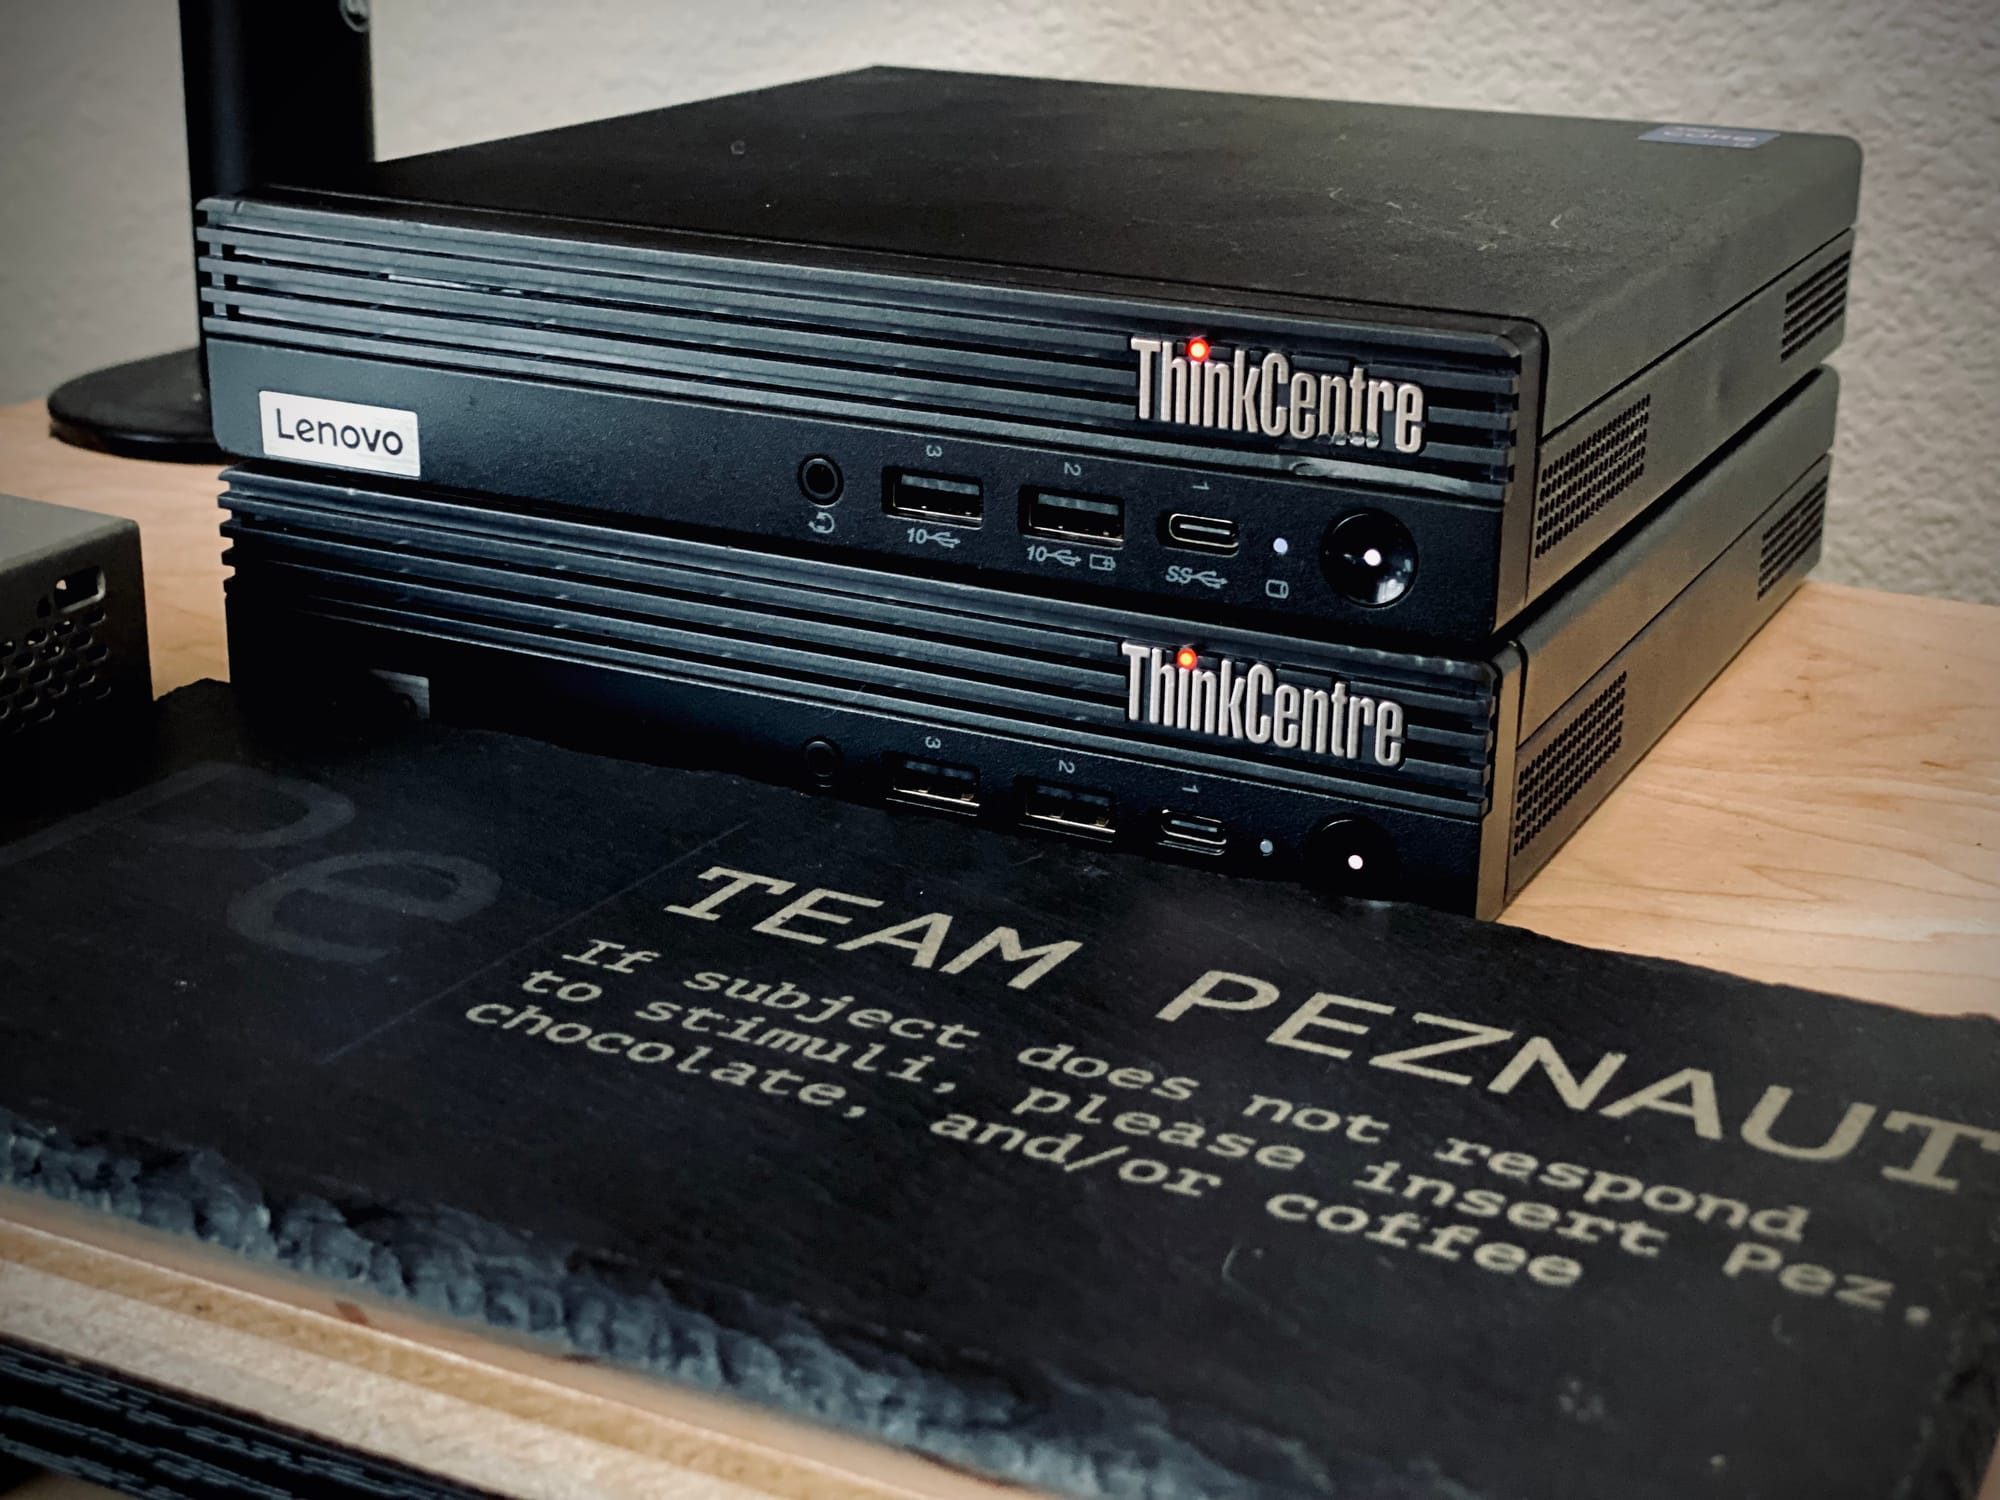
That's right, this vGPU deployment isn't breaking the bank and doesn't require the GDP of a small nation state as CapEx to get started. Review the supported hardware table to confirm the devices on the system are compatible.
Additionally, my host operating system is Ubuntu 24.04, running kernel 6.8. At the time of this writing, the needed Intel drivers are officially supported on Ubuntu, SLES, and RHEL. However, much of what is needed to run the host-level systems should be upstream when kernel 6.11 is released.
Installed Kernel (update)
While the normal "generic" kernel on distro's like Ubuntu should work, it is recommended that you run the intel specific kernel to ensure long term compatibility. When I started this effort I was running Kernel 6.8.0-xx, and while it worked, when it came time to upgrade to Kernel 6.8.0-44, the DKMS module failed to build. I have since learned that there are signed Intel specific Kernels which resolves these build issues and ensures compatibility. Since installing the Intel Kernels, my build issues have been eliminated.
apt-cache policy linux-modules-extra-6.8.0-1006-intel
linux-modules-extra-6.8.0-1006-intel:
  Installed: 6.8.0-1006.13
  Candidate: 6.8.0-1006.13
  Version table:
 *** 6.8.0-1006.13 500
        500 http://us.archive.ubuntu.com/ubuntu noble-updates/universe amd64 Packages
        500 http://security.ubuntu.com/ubuntu noble-security/universe amd64 Packages
        100 /var/lib/dpkg/status
Policy information for the intel kernel package.
To install the Intel Kernels, run the following command...
apt install -y linux-tools-6.8.0-1006-intel \
               linux-modules-extra-6.8.0-1006-intel \
               linux-image-6.8.0-1006-intel \
               linux-headers-6.8.0-1006-intel
Install Intel Kernel Packages
Host Kernel Parameters
Add the following kernel parameters by editing the file: /etc/default/grub.
GRUB_CMDLINE_LINUX_DEFAULT="intel_iommu=on iommu=pt i915.enable_guc=3 i915.max_vfs=7 i915.enable_hangcheck=0 kvm.ignore_msrs=1 pci=realloc=off"- The
intel_iommu=onparameter enables Intel's I/O Memory Management Unit (IOMMU), which is essential for device pass-through in virtualized environments. - The
i915.enable_guc=3flag ensures that the GuC firmware for workload scheduling is loaded for the iGPU, improving command submission and performance.
Base Package Install
Before getting started, some basic tools are needed.
apt install gpg-agent wgetIntel Package Install
Add Intel's repositories GPG key.
wget -qO - https://repositories.intel.com/gpu/intel-graphics.key | gpg --yes --dearmor --output /usr/share/keyrings/intel-graphics.gpgAdd Intel's package repository.
. /etc/os-release
cat > /etc/apt/sources.list.d/intel-gpu-${VERSION_CODENAME}.list <<EOF
deb [arch=amd64 signed-by=/usr/share/keyrings/intel-graphics.gpg] https://repositories.intel.com/gpu/ubuntu ${VERSION_CODENAME} unified
EOF
Update the package repository sources.
apt updateInstall drivers and software packages.
apt install -y linux-headers-$(uname -r) \
               linux-modules-extra-$(uname -r) \
               flex \
               bison \
               intel-fw-gpu \
               intel-i915-dkms \
               xpu-smi \
               sysfsutils \
               lshw
When installing in an environment with SecureBoot Enabled, make sure to read the prompts and follow the instructions. Upon reboot you will neeed to select "Enroll MOK" and enter the password you set.
Create a SysFS Entry
Set the sysfs value for the number of SR-IOV devices.
echo "devices/pci0000:00/0000:00:02.0/sriov_numvfs = 7" | tee -a /etc/sysfs.confThis command makes the assumption that your integration iGPU is at the PCI address 00:00:02. Use the lspci command to validate as needed.
Power Cycle
After the packages have been installed and the sysfs configuration has been applied, reboot the node to ensure everything takes effect.
Remember that you will need to "Enroll MOK" if your system is using Secure Boot.
rebootValidate System Functionality
Once the compute host has rebooted, validate functionality with the new tools.
# xpu-smi discovery
+-----------+--------------------------------------------------------------------------------------+
| Device ID | Device Information                                                                   |
+-----------+--------------------------------------------------------------------------------------+
| 0         | Device Name: Intel(R) UHD Graphics 770                                               |
|           | Vendor Name: Intel(R) Corporation                                                    |
|           | SOC UUID: 00000000-0000-0200-0000-000c46808086                                       |
|           | PCI BDF Address: 0000:00:02.0                                                        |
|           | DRM Device: /dev/dri/card1                                                           |
|           | Function Type: physical                                                              |
+-----------+--------------------------------------------------------------------------------------+
Gather Host Information
To provide our OpenStack cluster with the information it needs to provide vGPU support via SR-IOV, we'll need to gather the hardware addresses and vendor/product IOs from our devices.
lshw -c display -businfoThis will return your adapters, which are supported by the virtual functions.
Bus info          Device          Class          Description
============================================================
pci@0000:00:02.0                  display        AlderLake-S GT1
pci@0000:00:02.1                  display        AlderLake-S GT1
pci@0000:00:02.2                  display        AlderLake-S GT1
pci@0000:00:02.3                  display        AlderLake-S GT1
pci@0000:00:02.4                  display        AlderLake-S GT1
pci@0000:00:02.5                  display        AlderLake-S GT1
pci@0000:00:02.6                  display        AlderLake-S GT1
pci@0000:00:02.7                  display        AlderLake-S GT1
Virtual function bus information that will be used as a device_spec within OpenStack.
| Bus Info |
|---|
| 0000:00:02.1 |
| 0000:00:02.2 |
| 0000:00:02.3 |
| 0000:00:02.4 |
| 0000:00:02.5 |
| 0000:00:02.6 |
| 0000:00:02.7 |
Now, retrieve the vendor and product ID information.
lspci -knn | grep -i "AlderLake-S GT1"This will return all of the adapters that are available and supported by the virtual functions.
00:02.0 VGA compatible controller [0300]: Intel Corporation AlderLake-S GT1 [8086:4680] (rev 0c)
00:02.1 VGA compatible controller [0300]: Intel Corporation AlderLake-S GT1 [8086:4680] (rev 0c)
00:02.2 VGA compatible controller [0300]: Intel Corporation AlderLake-S GT1 [8086:4680] (rev 0c)
00:02.3 VGA compatible controller [0300]: Intel Corporation AlderLake-S GT1 [8086:4680] (rev 0c)
00:02.4 VGA compatible controller [0300]: Intel Corporation AlderLake-S GT1 [8086:4680] (rev 0c)
00:02.5 VGA compatible controller [0300]: Intel Corporation AlderLake-S GT1 [8086:4680] (rev 0c)
00:02.6 VGA compatible controller [0300]: Intel Corporation AlderLake-S GT1 [8086:4680] (rev 0c)
00:02.7 VGA compatible controller [0300]: Intel Corporation AlderLake-S GT1 [8086:4680] (rev 0c)
The information needed from the lines is contained within the second set of brackets, [8086:4680]. This information is colon-separated and breaks down like so.
| Vendor ID | Product ID |
|---|---|
| 8086 | 4680 |
OpenStack Setup
For the purpose of this post, the OpenStack setup I'm working with was deployed via Rackspace's open-source project, Genestack. Using the information gathered from the host, modify the OpenStack Nova configuration to support the devices.
OpenStack Compute Nodes
Omit the first address from the lshw output captured earlier, enter the remaining seven device addresses into the device_spec field; these are the virtual functions available for passthrough on the compute host.
Example configs within the Genestack overrides for the compute nodes. The device_spec field expects a JSON string.conf:
nova:
pci:
device_spec: >-
[{"address":"0000:00:02.1"},
{"address":"0000:00:02.2"},
{"address":"0000:00:02.3"},
{"address":"0000:00:02.4"},
{"address":"0000:00:02.5"},
{"address":"0000:00:02.6"},
{"address":"0000:00:02.7"}]OpenStack Controller Nodes
The controllers need to have the alias defined so that scheduling can take place. The alias will require the vendor and product IDs that were captured from the earlier lspci output.
Example config within our Genestack overrides for the controller nodes. The alias field expects a MultiString type.conf:
nova:
pci:
alias:
type: multistring
values:
- '{"vendor_id": "8086", "product_id": "4680", "device_type": "type-VF", "name": "iGPU", "numa_policy": "preferred"}'Note the device type which is set to type-VF. This type is used to tell nove that the passthrough device is a virtual function. Read more on this type under the alias configuration option documentation.OpenStack Flavor Setup
Now, create or modify a flavor to leverage these PCI devices passthrough.
openstack --os-cloud default flavor create --public \
                                           --ram 8192 \
                                           --disk 60 \
                                           --vcpus 4 \
                                           --ephemeral 10 \
                                           --swap 1024 \
                                           --property "pci_passthrough:alias=iGPU:1" \
                                           --property "os:secure_boot=disabled" \
                                           alderLake.vgpu.medium
Note the flavor property has the pci_passthrough key referencing the alias defined for the workload with a value of 1. It is also possible to give multiple devices to a single instance by setting the value to a number greater than one.Note the flavor property has os:secure_boot defined to ensure that the node deployed doesn't attempt to use Secure Boot. This option is only required because of the use of client side third party (Intel) drivers. Once the drives are upstreamed this option can be dropped. Secure Boot needs to be disabled because there will be no way to enroll the third party MOK.OpenStack Server Create
Now, create a server using the new or modified flavor.
openstack --os-cloud default server create --image ${IMAGE_NAME} \
                                           --flavor alderLake.vgpu.medium \
                                           --network ${NETWORK_NAME} \
                                           --key-name ${KEYPAIR_NAME} \
testOpenStack Server Validation
Log in to the node and validate that the GPU is available and within the instances.
lsmod | grep gpuIf the setup is working, the node should have the virtio_gpu kernel module loaded.
virtio_gpu             94208  0
virtio_dma_buf         12288  1 virtio_gpu
Client Setup
At the time of this writing, clients also need to have Intel's drivers installed. The following steps are similar to the host setup but slightly simplified. The following diagram highlights the interaction between the host and the virtual machine running on the OpenStack Cloud.

Add Intel's repositories GPG key.
wget -qO - https://repositories.intel.com/gpu/intel-graphics.key | gpg --yes --dearmor --output /usr/share/keyrings/intel-graphics.gpgAdd Intel's package repository.
. /etc/os-release
cat > /etc/apt/sources.list.d/intel-gpu-${VERSION_CODENAME}.list <<EOF
deb [arch=amd64 signed-by=/usr/share/keyrings/intel-graphics.gpg] https://repositories.intel.com/gpu/ubuntu ${VERSION_CODENAME} unified
EOF
Update the package repository sources.
apt updateInstall drivers and software packages.
apt install -y linux-headers-$(uname -r) \
               linux-modules-extra-$(uname -r) \
               intel-i915-dkms \
               intel-fw-gpu
Create a kernel configuration file which will ensure that the i915 module and xe modules are operating normally within the client VM. The file will be located at /etc/modprobe.d/vgpu.conf.
options i915 enable_guc=3
options xe force_probe='4680'
blacklist virtio_gpu  # optional but useful
Note, theforce_probeparameter is using the Product ID that was gathered from the host setup. If you need to discover your Product ID from within the client, you can run thelspci -knncommand.
Update the initramfs.
update-initramfs -uReboot the client instance.
rebootOnce again, validate functionality by checking if the modules are loaded correctly.
lsmod | egrep '(915|gpu)'The output will have xe and i915 showing that the accelerator is operational within the client instance.
i915                 3489792  0
i915_compat            24576  1 i915
intel_vsec             20480  1 i915
drm_gpuvm              45056  1 xe
drm_exec               16384  2 drm_gpuvm,xe
gpu_sched              61440  1 xe
drm_display_helper    253952  3 xe,i915,i915_compat
i2c_algo_bit           16384  2 xe,i915
video                  73728  2 xe,i915
ahci                   49152  0
Now check the lspci output to confirm that the instance sees the virtual GPU as a compatible graphics adapter.
lspci -knn | grep -i "AlderLake-S GT1"The output will show the graphics adapter, just like the host machine; however, it's limited to a single adapter because that's what was defined within the OpenStack flavor.
06:00.0 VGA compatible controller [0300]: Intel Corporation AlderLake-S GT1 [8086:4680] (rev 0c)Conclusion
That's all there is to it. While the setup is a bit cryptic regarding getting the device information, the ease of operation and ability to get accelerators into OpenStack instances are simply fantastic. Instances running Windows or Linux can all benefit from the accelerators, making this a great way to leverage accelerated computing functions powered by SR-IOV in an OpenStack cloud.
Performance Acknowledgement
While Intel’s iGPUs offer powerful acceleration for virtualized environments, they are most effective in workloads such as video transcoding, 3D rendering, and machine learning inference. Dedicated GPUs are preferable for GPU-bound tasks requiring maximum parallelism.
Fin
By setting up Intel iGPUs as vGPUs in OpenStack, you unlock powerful computing capabilities with minimal overhead. Whether you're running AI workloads, multimedia processing, or simply improving user experience in VDI environments, Intel's SR-IOV solution for Xe architectures provides a seamless way to leverage acceleration in the cloud.