Teleport Application Containers


Teleport is a fantastic tool that gives users incredible functionality, even in the "community" releases. One such feature is the ability to use Teleport for application access, and in this post, we'll use Teleport agents to provide application access to OpenStack resources.
Background
If you've read my last post about running Teleport with the Gateway API, you may know that I've recently converted my deployment of Teleport from running on an OpenStack virtual machine to running within containers on Kubernetes. The conversion to Kubernetes was equal parts a need to learn, and a desire to highlight some of the fantastic features of Genestack, illustrating the platform permits systems and services side-by-side. One of the drawbacks of using Teleport in Kubernetes is the loss of being able to run applications directly on my proxy nodes. While I could run some extra configuration and deploy those bits via helm to make Teleport do what I want, the helm values file specifically calls out doing such shenanigans as an anti-pattern. So, to get what I needed, I had to do a bit more research and found that the folks behind Teleport have created a helm chart for deploying an agent within a Kubernetes environment to support such workloads.
While the setup sounds simple, it took me a few iterations to make things go; so here's what I did.
Getting Keys
Teleport lets systems join the cluster using the tctl command or the web UI. For this post, we'll assume everything is done using tctl. Additionally, the commands used within this port assume local access to the cluster. If the Teleport cluster is remote, install the Teleport tools to run the commands within this post.
Execute a command to retrieve your token
 kubectl -n teleport-cluster exec \
         -ti deployment/teleport-cluster-auth -- tctl tokens add --type=app
The output will look something like this.
The invite token: SUPERSECRETE_TOKEN
This token will expire in 30 minutes.

Fill out and run this command on a node to make the application available:

> teleport app start \
   --token=SUPERSECRETE_TOKEN \
   --ca-pin=sha256:SUPERDUPER_SECRETE_HASH \
   --auth-server=teleport.you.domain.tld:443 \
   --name=example-app                    `# Change "example-app" to the name of your application.` \
   --uri=http://localhost:8080           `# Change "http://localhost:8080" to the address of your application.`

Your application will be available at example-app.teleport.cloudnull.dev:443.

Please note:

  - This invitation token will expire in 30 minutes.
  - teleport.cloudnull.dev:443 must be reachable from the new application service.
  - Update DNS to point example-app.teleport.you.domain.tld:443 to the Teleport proxy.
  - Add a TLS certificate for example-app.teleport.you.domain.tld:443 to the Teleport proxy under "https_keypairs".
The TL;DR here is that we need the SUPERSECRETE_TOKEN and have 30 minutes to complete this.
Deploying the Teleport Agent
The Teleport agent can be installed with a helm chart. Getting this file right took me some time; I was trying to do too much. However, I fixed myself and simplified my life, so here's my simplified file.
---
roles: app
proxyAddr: teleport.your.domain.tld:443
apps:
  - name: openwebui
    uri: http://172.16.25.162:3000
    rewrite:
      redirect:
      - "openwebui.teleport.your.domain.tld"
      headers:
      - "Host: openwebui.teleport.your.domain.tld"
      - "Origin: https://openwebui.teleport.your.domain.tld"
      - "X-Request-Base: https://openwebui.teleport.your.domain.tld"
Teleport Agent Values File at teleport-agent-values.yaml
To break this file down, I'm setting a role and the location of the Teleport proxy server. Then, I define my applications normally.
With the configuration set, deploy the agent.
helm upgrade --install teleport-kube-agent teleport/teleport-kube-agent \
             --create-namespace \
             --namespace teleport \
             --set authToken=SUPERSECRETE_TOKEN \
             -f /etc/genestack/teleport/teleport-agent-values.yaml
Example helm teleport-kube-agent deployment
Note, here we are defining that SUPERSECRETE_TOKEN, this is used to permit the application to join the cluster.
Now that the service is running, you can confirm it is operational with the tctl command.
kubectl -n teleport-cluster exec -ti deployment/teleport-cluster-auth -- tctl inventory list --services App

Server ID                            Hostname              Services Agent Version Upgrader Upgrader Version
------------------------------------ --------------------- -------- ------------- -------- ----------------
06bbe8ec-5f5d-4d08-9fbe-3f2a2c9ac782 teleport-kube-agent-0 App      v16.1.8       none     none
tctl to show the inventory
Now you can login and see your application running.
tsh apps ls
Application Description Type Public Address                Labels
----------- ----------- ---- ----------------------------- ------
openwebui               HTTP openwebui.teleport.your.do...
tsh to list the applications
Validate the Application is responding.
curl https://openwebui.teleport.your.domain.tld/auth
<ahref="https://teleport.your.domain.tld:443/web/launch/openwebui.your.domain.tld?path=%2Fauth">Found</a>.
curl to show that the application found
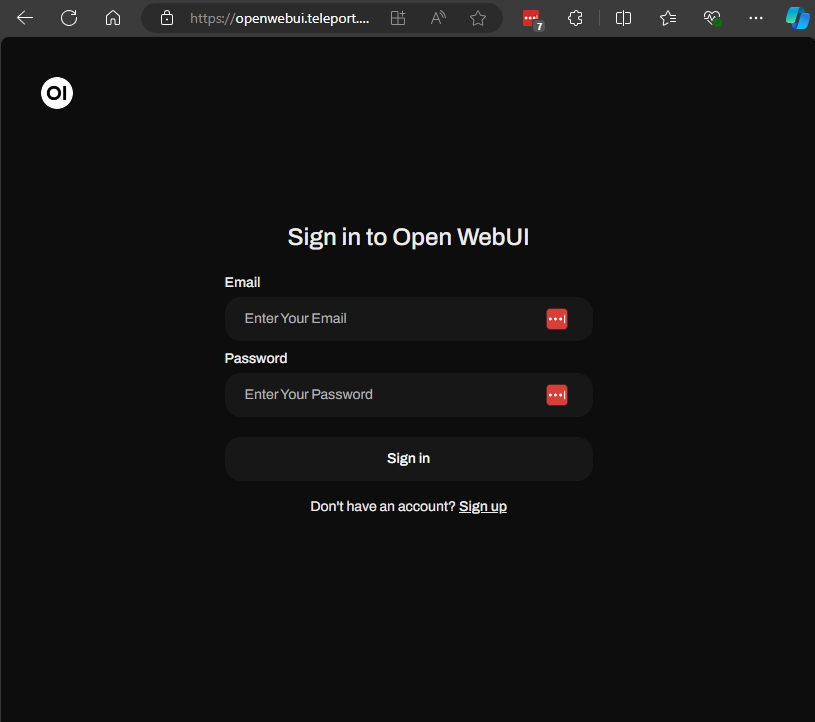
Using a browser, login to Teleport and start using your app normally.
That's it, That's all
The simple deployment allows me to use Teleport as my authenticated proxy, with my oath integrations with GitHub. Teleport apps is providing access to my applications all within my Genestack cloud.